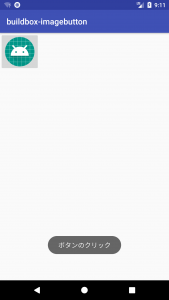
今日の記事は比較的軽めで、ImageButtonの使い方です。
画像が表示されたボタンは、比較的使う機会も多いのではないかと思います。
サンプルを元に、実装方法を紹介していきます。
今回のサンプルアプリは以下に格納してあります。
ImageButtonは以下のように、レイアウトに実装することで表示することができます。
activity_main.xml
<RelativeLayout
    xmlns:android="http://schemas.android.com/apk/res/android"
    xmlns:tools="http://schemas.android.com/tools"
    android:layout_width="match_parent"
    android:layout_height="match_parent"
    tools:context="net.buildbox.sample.buildbox_imagebutton.MainActivity">

    <ImageButton
        android:id="@+id/image_button"
        android:layout_width="wrap_content"
        android:layout_height="wrap_content"
        android:contentDescription="アイコン表示"
        android:src="@android:drawable/sym_def_app_icon"/>
</RelativeLayout>
android:src で表示したい画像を指定することで、対象の画像が表示されます。
ここでは、AndroidのOSで利用されている画像にアクセスして表示するため、 @android:drawable/xxx(xxxは任意の画像ファイル) というパスを利用しています。
また、android:contentDescription でコンテンツの概要を文字列で指定しないと警告が出るので、指定を行うようにしてください。
